Description
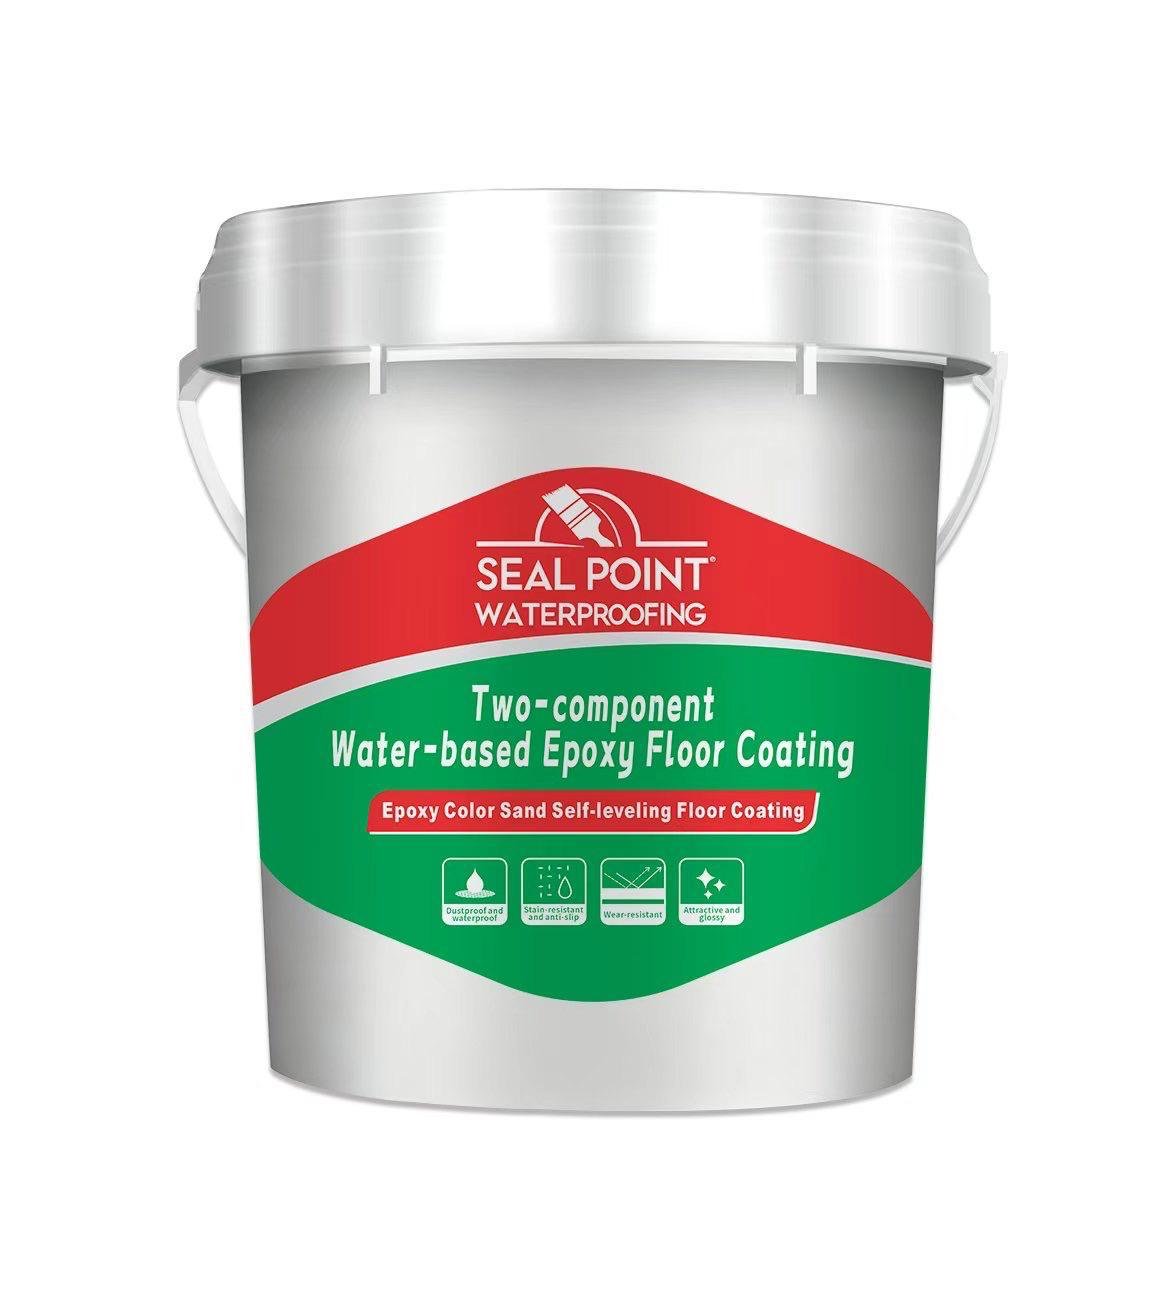
Two-component water-based epoxy floor coating with color sand, self-leveling finish. Dustproof and waterproof, stain-resistant and anti-slip, wear-resistant, with an attractive glossy result.
Epoxy Color Sand Application Process Steps The process of applying epoxy color sand typically involves the following steps, which are standard procedures:
1 Preparation of materials before construction: Prepare the main components of epoxy colored sand, curing agent, colored quartz sand, epoxy base coat, top coat, etc., according to the design requirements. Ensure that the materials are within their expiration dates and the ratios are correct.
2 Prepare the tools: gather a grinder, a vacuum cleaner, a mixer, a trowel, an anti-foam roller, a scraper, a roller brush, and other construction tools.
3 Environmental Inspection: Ensure that the construction environment temperature ranges from 5°C to 30°C, the relative humidity is ≤80%, the substrate moisture content is ≤8%, the site ventilation is good, and there are no cross-operation disruptions. Substrate treatment and floor cleaning: Use brooms, vacuum cleaners, and other tools to remove loose dust, oil stains, and debris from the floor. If there are oil stains, use organic solvents for cleaning. Polishing to a smooth surface: Use grinding machines or angle grinders to polish the floor, removing loose cement, flaky areas, and achieving a uniform surface roughness with a flatness error of ≤2 mm/2m. Repairing cracks and holes: Fill cracks and holes in the floor with epoxy mortar or quick-set repair material, and then polish the surface once it has hardened.
4 Dust Removal: Use a vacuum cleaner to thoroughly clean up the dust generated by the polishing process, ensuring that the floor is clean and free of dust.
5. Base Coat Application Mix the base coat primer: Combine the epoxy base coat main component with the curing agent according to the manufacturer’s ratio, mix thoroughly, and let it sit and mature for 15-30 minutes. Roll coat the base coat: Use a roller or a scraper to evenly roll the base coat onto the floor, ensuring there are no gaps or drips, and use a brush to fill in the corners. Inspection and Repair: After the base coat has dried (approximately 6-8 hours), check if the coating is uniform. If there are signs of whitening or gaps, repair them.(For old tile surfaces, this step is not necessary.)
Construction of the 6-color sand layer: Mix the main component of epoxy colored sand, the curing agent, and colored quartz sand according to the manufacturer’s proportions. Use a mixer to stir it at low speed for 3-5 minutes until there are no lumps, and let it rest for 5 minutes to eliminate air bubbles. Spread the colored sand: Pour the mixture onto the ground and use a trowel or scraper to evenly spread it out, typically with a thickness of 2-5 mm. Use a knife to smooth out the edges to prevent accumulation. Level and eliminate bubbles: Use a bubble-eliminating roller to repeatedly press down on the surface, removing bubbles and compacting the sand particles, ensuring a smooth and even surface.

Reviews
There are no reviews yet.